Creating a subdomain in HestiaCP is easy. Just follow these steps:
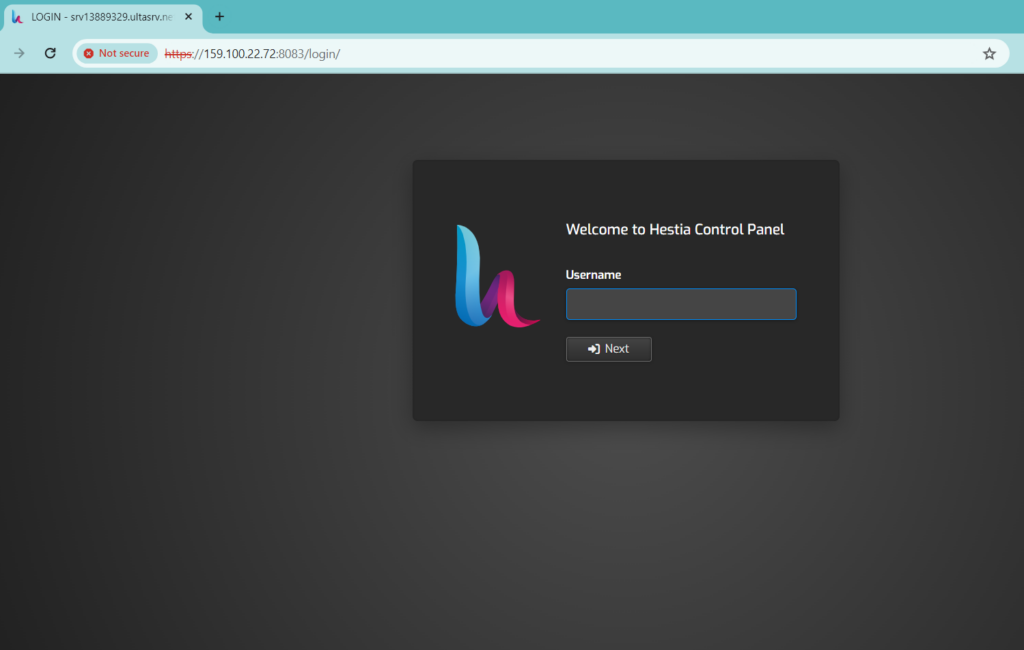
Log in to HestiaCP: Access your HestiaCP control panel by entering your VPS IP address and the default Hestia port (8083) in your web browser, like this: https://159.100.22.72:8083/
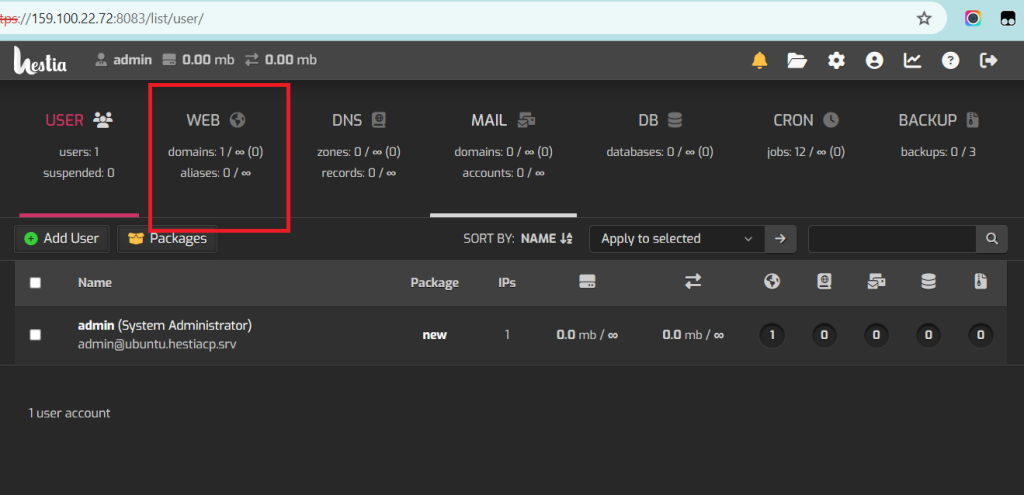
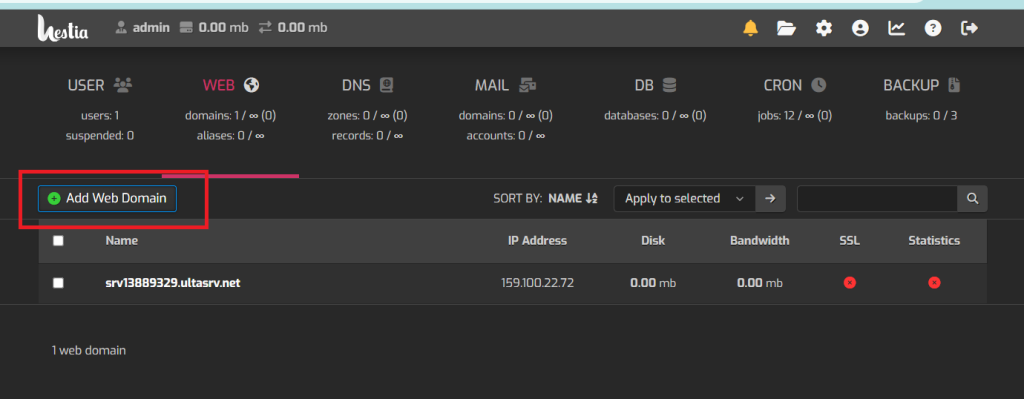
Add Domain: Go to the “Web” section and click on “Add Web Domain”.
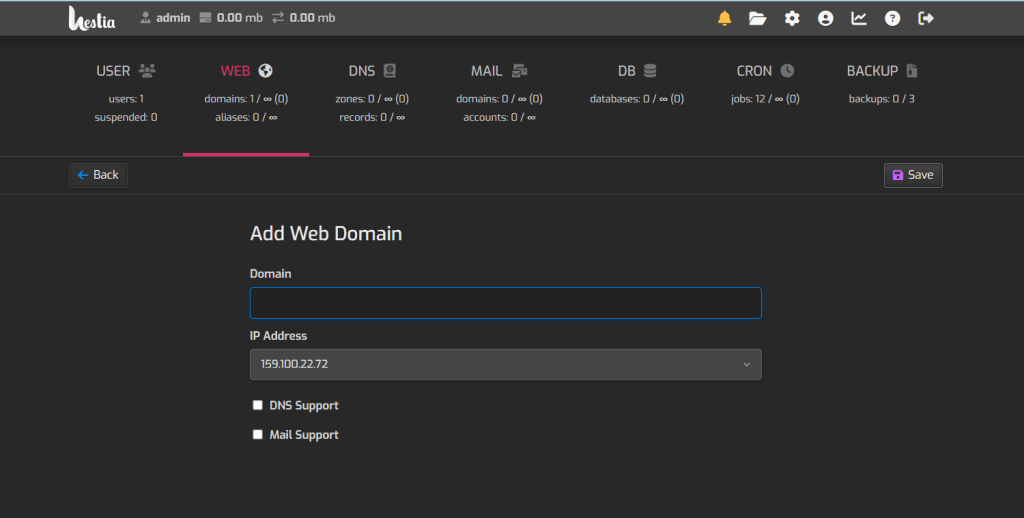
Enter Domain Details: In the “Domain” field, enter the subdomain you wish to create. For example, if you want to create the subdomain “blog” for the domain “example.com,” type blog.example.com.
Save Changes: Click on the “Save” button to apply the changes.
Update DNS: If you haven’t already connected your domain to HestiaCP, you’ll need to update the DNS. Visit your domain registrar or DNS provider’s website and update the DNS settings to point to your VPS’s IP address. Create an “A” record that directs to your VPS IP.
Wait for DNS Propagation: DNS changes can take time to propagate across the internet. It usually takes a few hours, but it may take up to 48 hours.
Test Access: Once DNS propagation is finished, test your subdomain by entering it in your web browser.
And that’s it! You’ve successfully created a subdomain in HestiaCP.