To set up an FTP account in HestiaCP, just follow these easy steps:
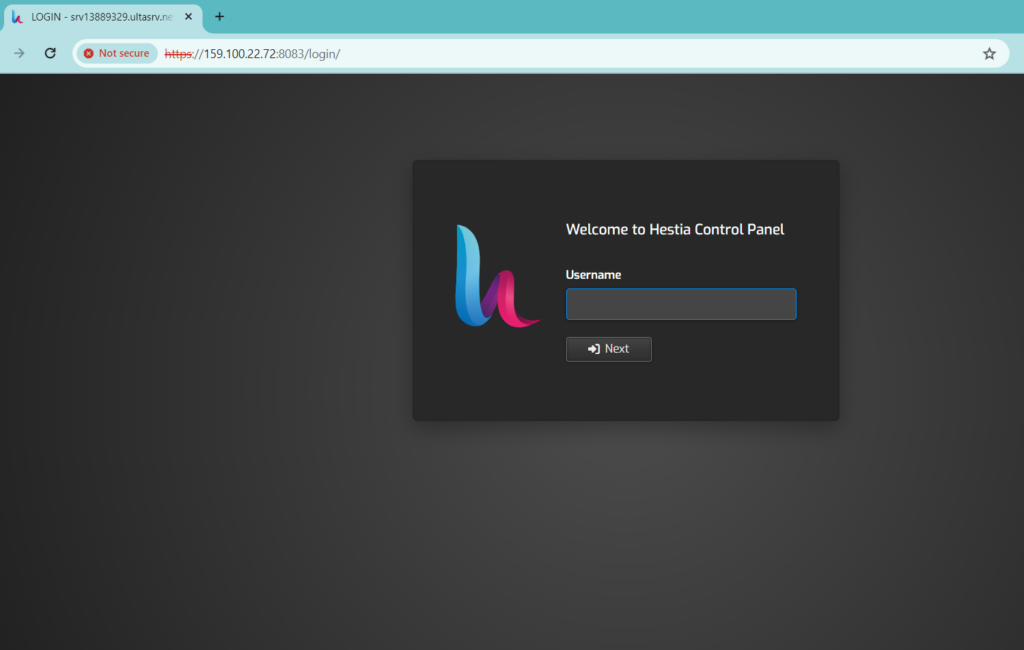
Log into Hestia Control Panel: Start by going to the login page and entering your credentials to access the Hestia Control Panel.
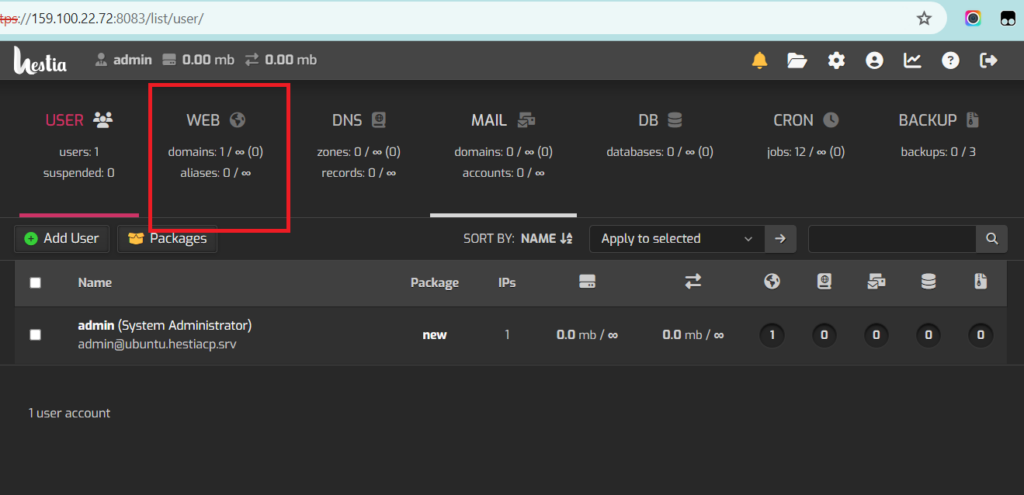
Add an FTP Account: Head over to the “Web” section and click on the domain you want to manage.
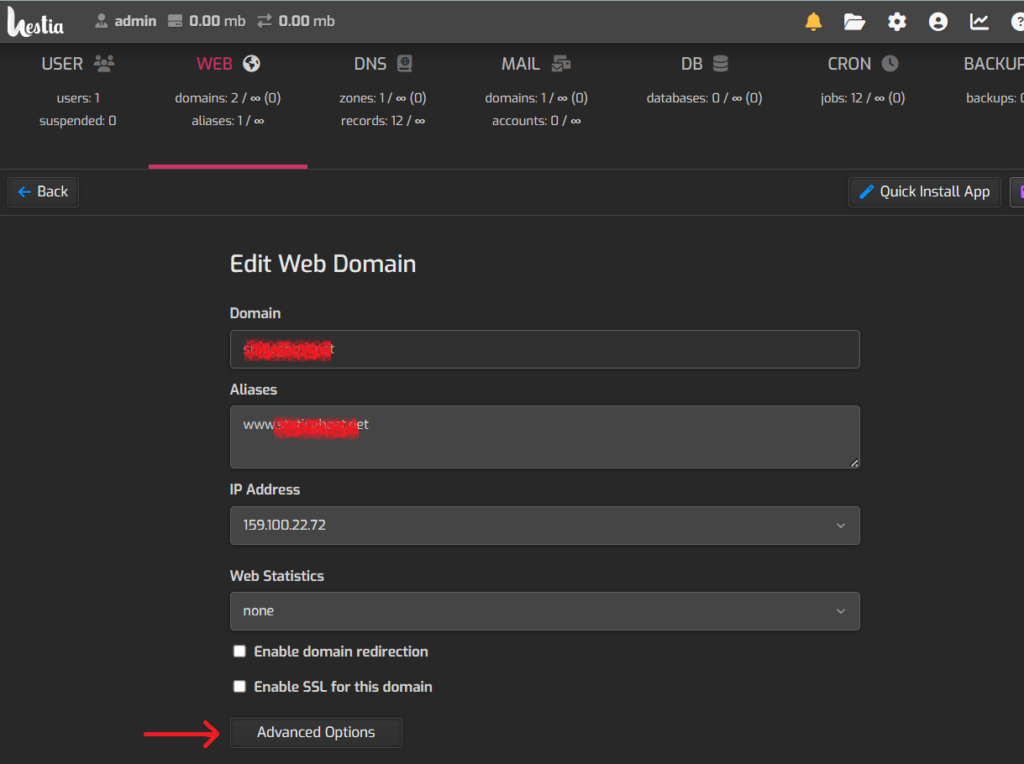
Go to ‘Edit Web Domain’ Page: Once you’re there, look for and click on “Advanced Options.”
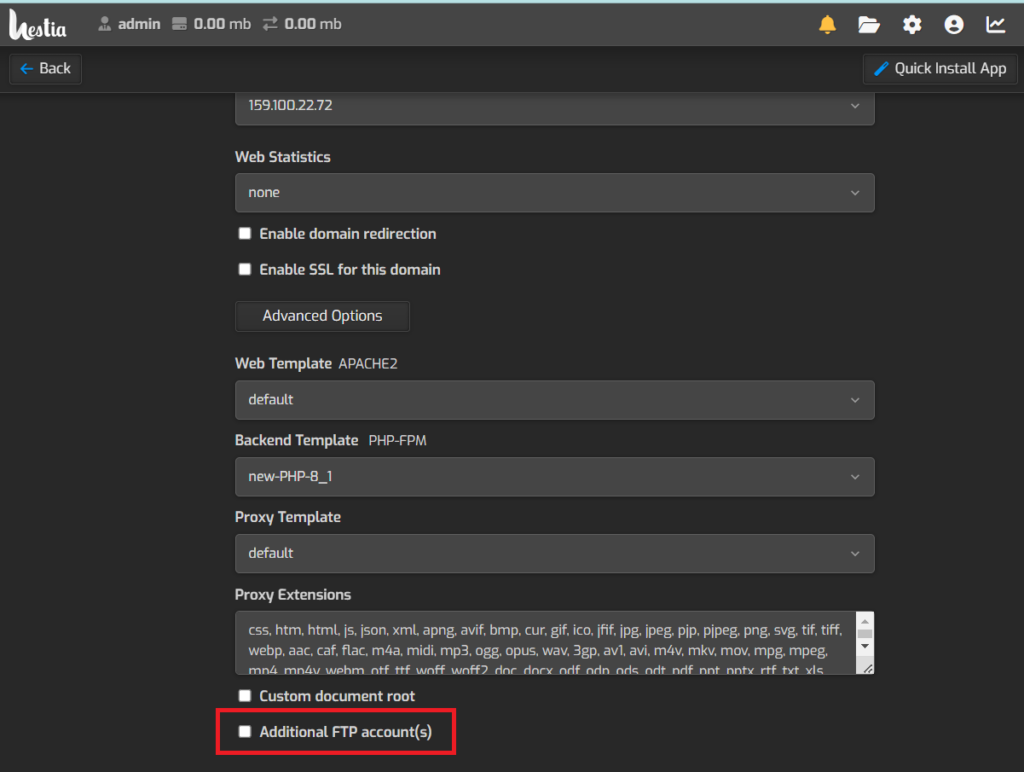
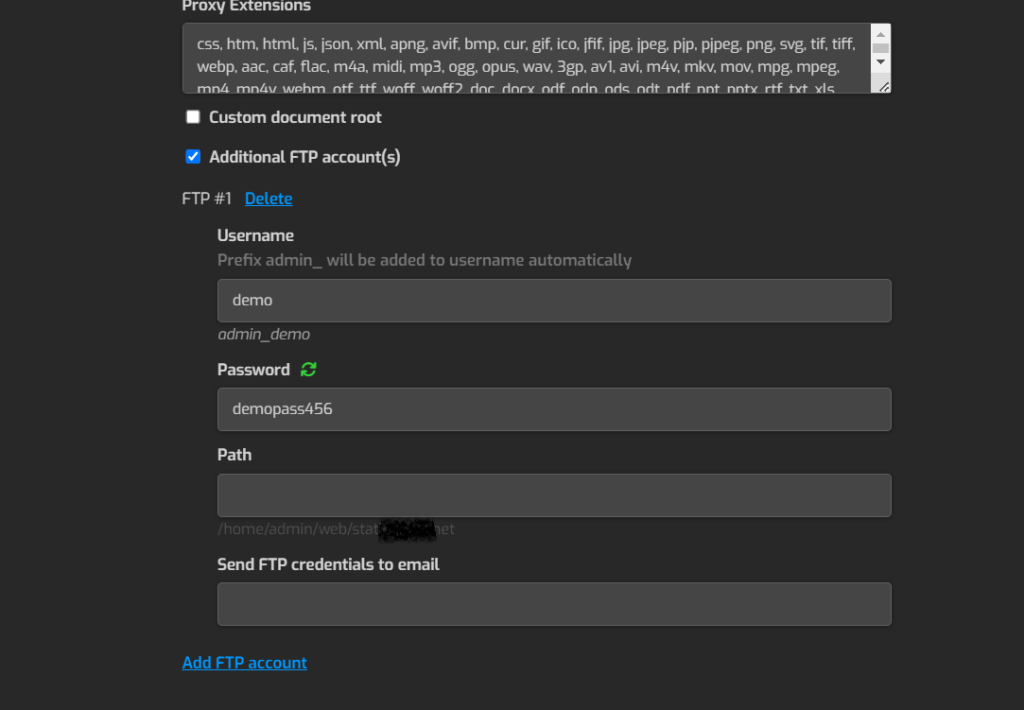
Click on Additional FTP Accounts: In the advanced options menu, select “Additional FTP accounts.”
Enter Your FTP Account Details: You’ll need to fill in the details for the new FTP account, such as a username and password. You may also have the option to set specific directories or permissions for the account.
Save Your Changes: After entering the necessary information, be sure to save the changes to create the FTP account.
Test Your FTP Account: Once the FTP account is set up, try connecting to your server with an FTP client using the new credentials to ensure everything’s working smoothly.
And that’s it! You’ve successfully created your FTP account using Hestia Control Panel. If you run into any problems or need more help, don’t hesitate to reach out!