Enabling or disabling two-factor authentication (2FA) is easy! Just follow the simple steps below.
1. Enable 2FA
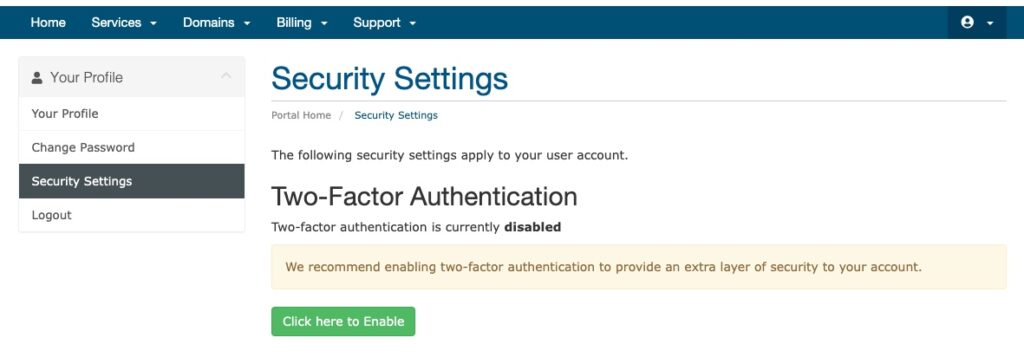
1. Log in to your Brawhosting account and go to the Security Settings page. You can do this by clicking on your name in the top-right corner, then selecting ‘Security Settings’ from the dropdown menu.
2. Once you’re on the Security Settings page, click the ‘Click here to Enable’ button to turn on two-factor authentication (2FA).
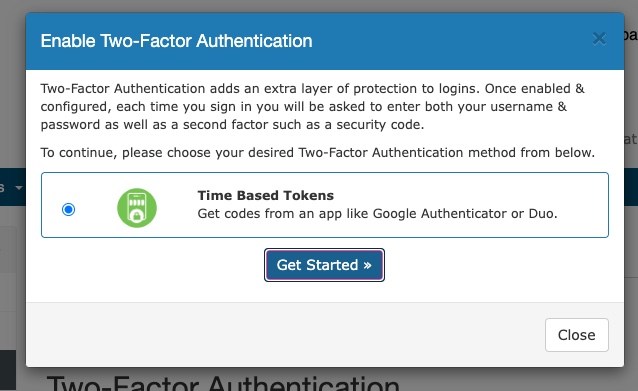
3. Click on the ‘Get Started’ button to begin setting up two-factor authentication.
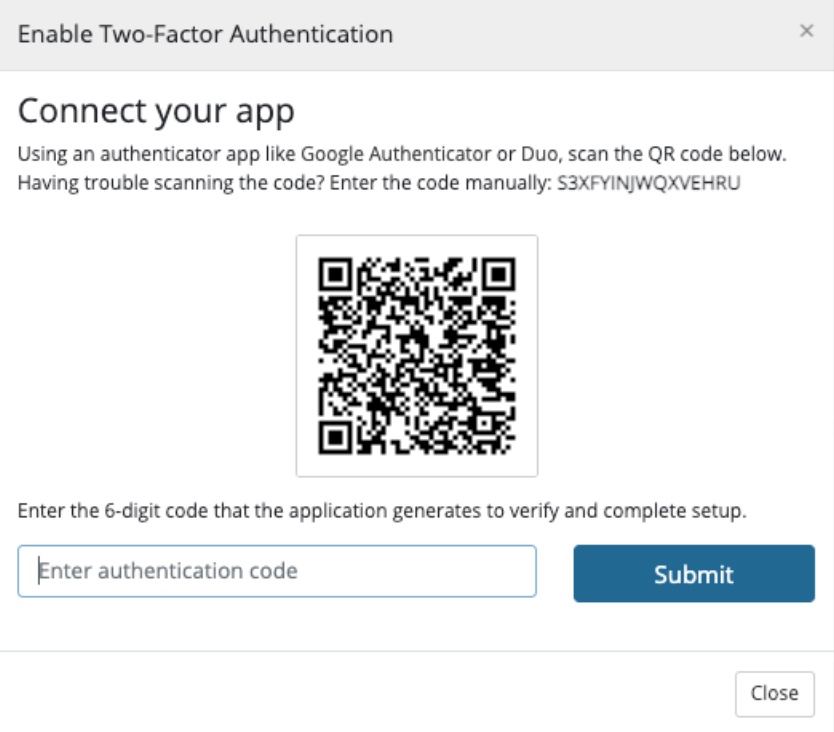
4. Use your preferred authentication app, like Google Authenticator or Authy, to scan the QR code displayed on the screen. Then, enter the code generated by the app into the provided field and click ‘Submit’.
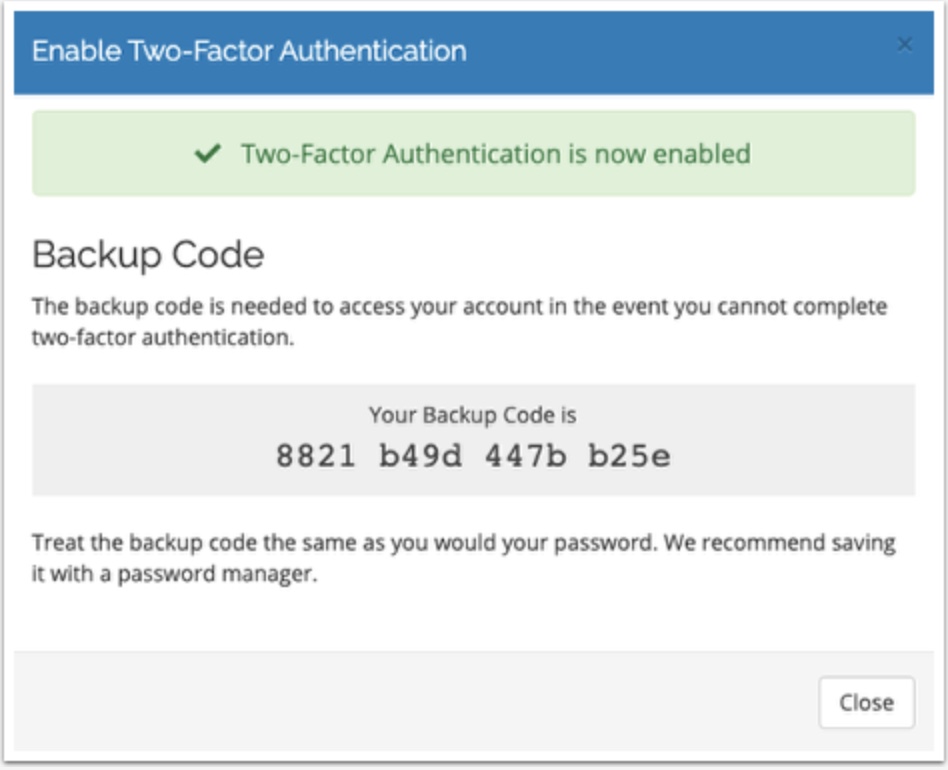
5. Once submitted, your 2FA security will be successfully enabled on your Brawhosting account.
Make sure to copy the backup code and store it securely. You’ll need this code in case you can’t log in using 2FA or if there’s an issue with your authenticator app.
And that’s how you can easily enable 2FA on your Ultahost account!
2. Disable 2FA
1. To turn off 2fa, log in to your Brawhosting account and go to the Security Settings section.
2. After that, click the ‘Disable’ button.
3. You will need to confirm your Brawhosting account password.
4. Input your password and select ‘Disable Two-Factor Authentication.’ This action will deactivate 2fa for your Brawhosting account.
The second-factor authentication has been turned off successfully!
That’s it! Now you know how to enable or disable 2fa on Brawhosting.