Connecting a domain to a VPS with HestiaCP requires a few steps:
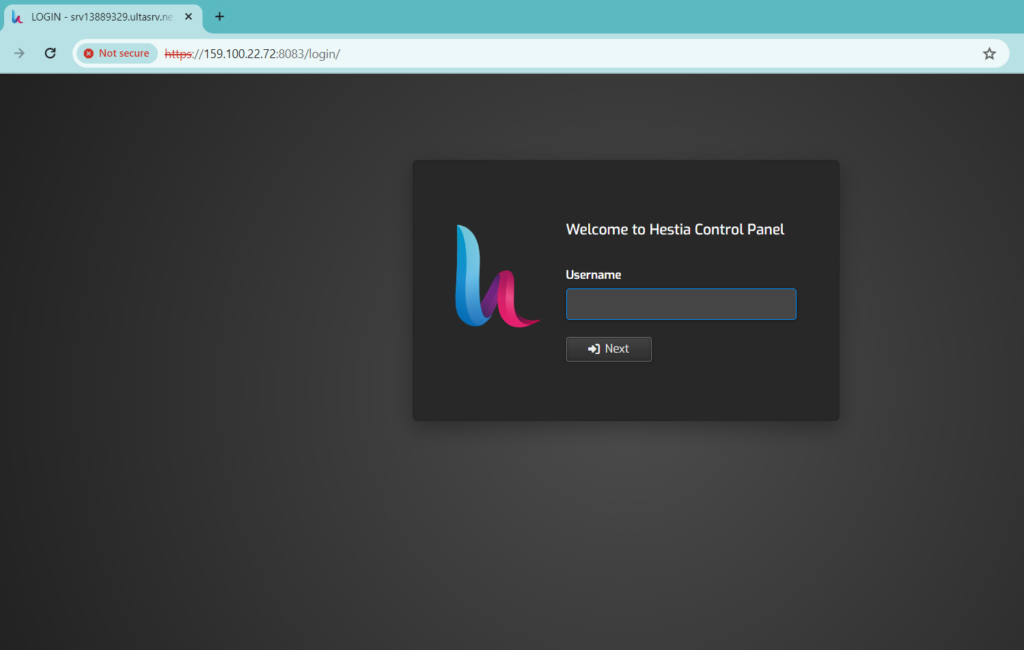
Sign in to HestiaCP: Open your web browser and go to your HestiaCP control panel. Just enter your VPS IP address followed by the default Hestia port, 8083, like this: https://159.100.22.72:8083/
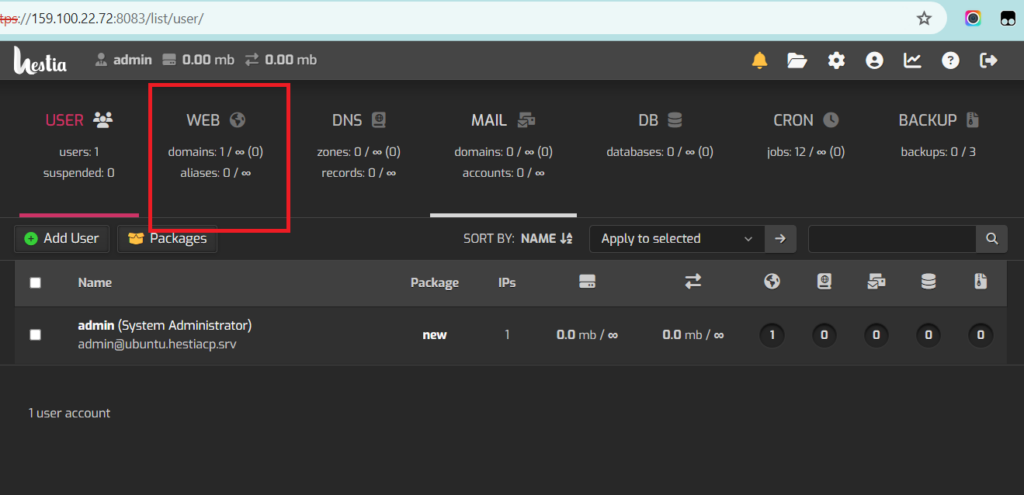
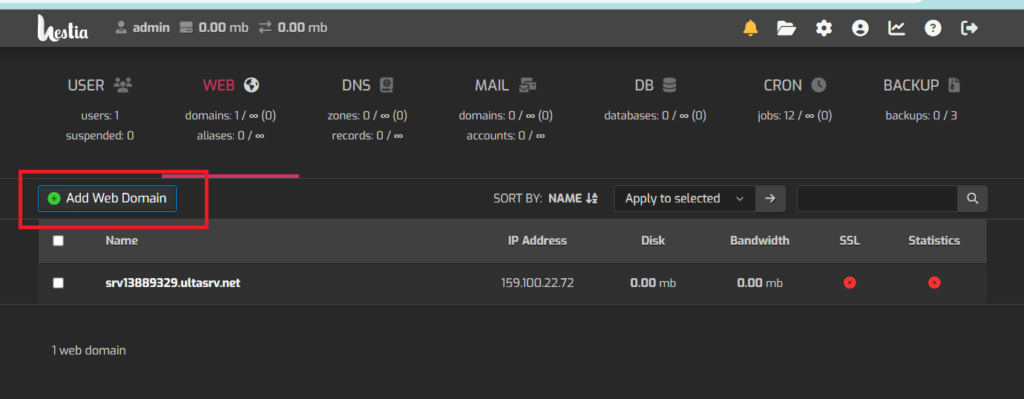
Add a Domain: Go to the “Web” section and choose the “Add Web Domain” option.
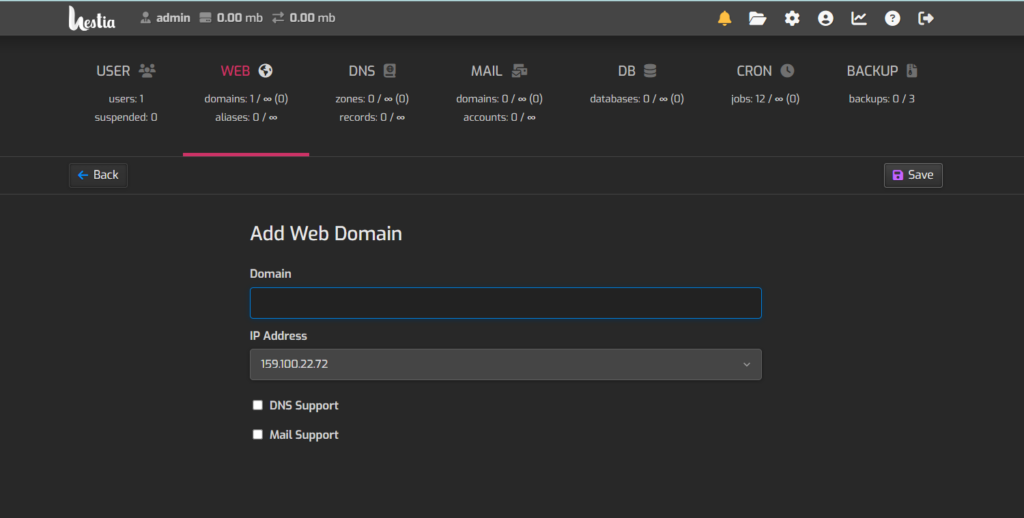
Enter Domain Information: Provide your domain name and choose options such as DNS Support and Mail Support.
Save Changes: Click the “Save” button to apply the changes.
Update DNS: Visit your domain registrar or DNS provider’s website and update the DNS settings to point to your VPS’s IP address. Create an “A” record that directs to your VPS IP.
Wait for DNS Propagation: DNS updates can take time to spread across the internet. It typically takes a few hours, but it may take up to 48 hours.
Test Access: After DNS propagation is finished, test your domain by entering it in your web browser.
This is how you can connect a domain to a VPS using the Hestia control panel.